Homemade Yogurt Made Easy

Caleb Ryan
| 13-02-2026
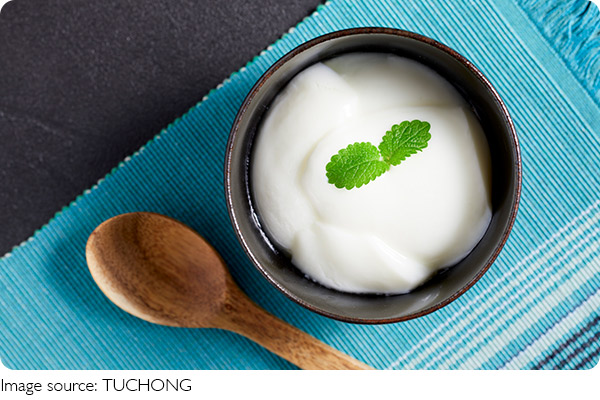
Nothing beats the satisfaction of a creamy spoonful of yogurt you made yourself. The smooth texture, gentle tang, and ability to customize flavor make homemade yogurt feel far more personal than store-bought options.
With a little patience and a few simple steps, you can have fresh yogurt ready anytime, without additives or preservatives.
Choosing the right ingredients
Milk quality, Starter culture, Optional flavorings
The base of your yogurt determines both texture and taste.
1. Whole milk creates a creamier result, while low-fat milk gives a lighter texture.
2. Use plain yogurt with live active cultures as your starter; it's what turns milk into yogurt.
3. Optional additions like honey, vanilla, or fruit can be added after fermentation for natural flavor.
Actionable example: Measure about 1–2 tablespoons of starter per liter of milk to ensure reliable fermentation.
Heating the milk
Temperature control, Protein activation, Safe bacteria environment
Heating milk prepares it for fermentation and improves texture.
1. Pour milk into a saucepan and heat gently to around 80°C (175°F), stirring occasionally.
2. This kills any unwanted bacteria and helps proteins set into a thicker yogurt.
3. Practical tip: Use a thermometer for accuracy. Milk that's too cool won't thicken properly, while too hot can harm the beneficial cultures.
Cooling and adding the starter
Optimal bacteria growth, Even mixing, Consistent results
After heating, the milk needs to cool to avoid killing the starter.
1. Let the milk cool to roughly 43–46°C (110–115°F).
2. Stir in the measured starter yogurt gently but thoroughly.
3. Actionable step: mix with a whisk in slow circles to distribute the cultures evenly without introducing air bubbles.
Incubation for fermentation
Warm environment, Time management, Steady consistency
Fermentation is where magic happens.
1. Pour the milk-starter mixture into clean jars or a container with a lid.
2. Keep the mixture in a warm place around 40–45°C (105–115°F) for 6–12 hours, depending on how tangy you like it.
3. Actionable example: wrap jars in a towel and place them in an oven with the light on to maintain consistent warmth.
Checking and cooling the yogurt
Firm texture, Desired tang, Proper storage
Once the yogurt sets, cooling stops fermentation and improves firmness.
1. Check the yogurt's consistency—it should be slightly wobbly but firm.
2. Taste to ensure the tanginess is to your liking.
3. Refrigerate for at least 2–3 hours before serving.
Actionable tip: Use a clean spoon when sampling to avoid introducing unwanted bacteria.
Customizing flavor and texture
Mix-ins, Sweeteners, Texture adjustments
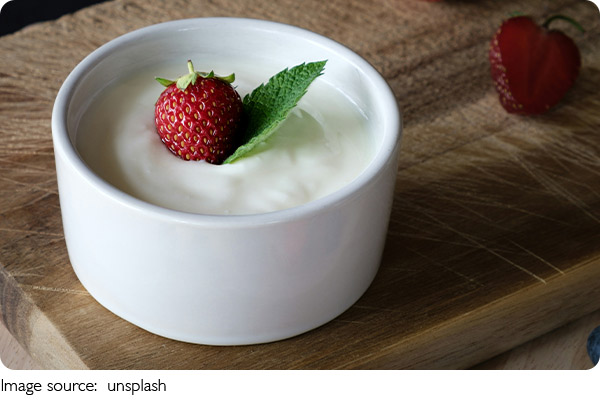
Homemade yogurt allows endless variations.
1. Stir in fruit purees, honey, maple syrup, or vanilla after fermentation.
2. For Greek-style yogurt, strain the finished yogurt through a cheesecloth for 2–4 hours to remove whey.
3. Actionable example: fold in fresh berries just before serving to keep texture intact and colors vibrant.
Tips for consistent results
Clean utensils, Starter care, Storage
Consistency is all about preparation and hygiene.
1. Always sterilize containers and utensils to prevent contamination.
2. Reserve a small portion of each batch as starter for the next batch.
3. Store yogurt in the fridge for up to 1 week.
Actionable step: keep a dedicated jar of starter in the fridge to maintain a steady supply for future batches.
Making yogurt at home is simple once you understand the steps. From choosing the right milk to nurturing the cultures through gentle incubation, every stage matters. The reward is creamy, fresh yogurt tailored exactly to your taste, a small homemade luxury that brightens breakfast or snacks and makes you proud of what you created with your own hands.